
- Are AI Generated Games The Next Big Thing? - February 2, 2024
- If You Play 3 Games A Year, Stop Voicing Your ‘Expert’ Opinion - January 9, 2024
- Is Sony’s Adaptive Difficulty A Good Idea? - January 7, 2024
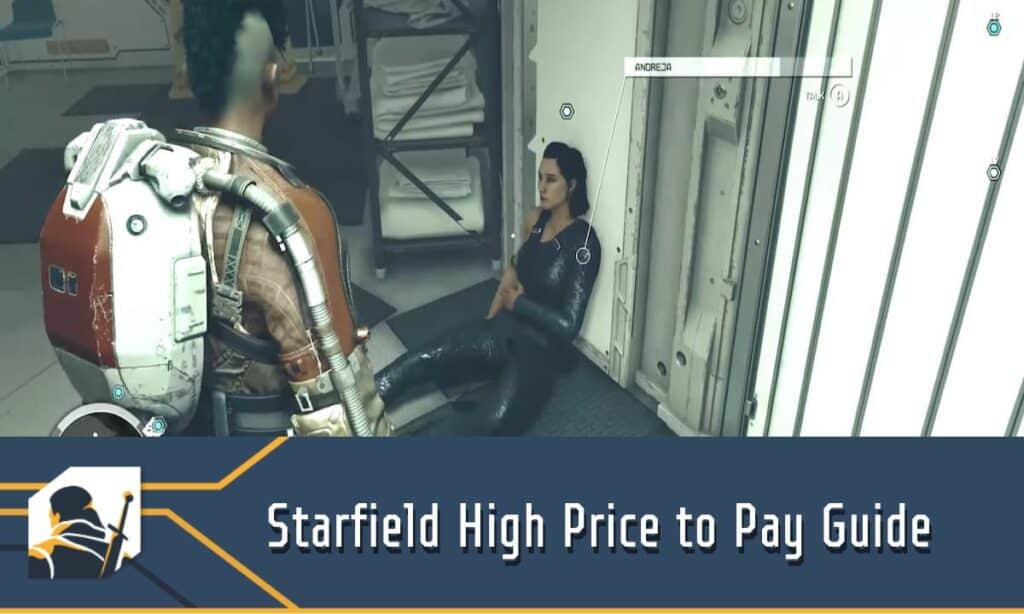
Starfield is a game that can swallow you up for hours on end, and often, you can find yourself not even paying attention to the main storyline. Those who forgo it completely, though, are missing out on one of Bethesda’s best-crafted storylines and most original as well.
The twists and turns that it takes are genuinely surprising and restore faith in the main story missions that Bethesda often seems to have little interest in. There is also a healthy amount of shock involved, and character deaths can happen depending on the choices you make, making the situation all the more interesting to weave your way through. One main quest that involves a lot of choice and consequence is High Price to Pay, so here’s everything you need to know to make it through.
Quest Details Up Front
- Location: New Atlantis
- Length: 45 Minutes
- Requirements: None
- Difficulty: 7/10
- Rewards: 11800 Credits, Calibrated Constellation Pack, 800 XP
Quest Synopsis
High Price to Pay involves the Starborn unleashing a full-blown attack on Constellation on two fronts, in New Atlantis and on The Eye space station. You will have a decision to make on which front you want to defend, and depending on your choice here, you can find yourself losing a party member who’s been partial to you. There are multiple ways this main quest can play out, so let’s get into it and figure out if we can save everyone or not.
Brief Walkthrough
- Step One: Go to New Atlantis
- Step Two: Decide whether to defend New Atlantis or The Eye
- Step Three: Find Noel
- Step Four: Find Vladamir
- Step Five: Build the Armillary on your ship or at an Outpost
- Step Six: Return to the Lodge
Extended Walkthrough

If you’ve been sleepwalking through Starfield’s main quest, this mission is sure to wake you up. There are a variety of ways for this one to go, so we’re going to explore each and figure out if the risks are worth the consequences. To start the quest, head to New Atlantis.
You will be here anyway from the end of the previous quest, and you’ll need to talk to Noel in order to set the fireworks off. She’ll mention that The Eye has gone dark. All of a sudden, Vladamir will contact The Lodge and tell you the situation. The Hunter, a Starborn, has attacked The Eye, and The Lodge is next up on the menu.
Here’s a funny little tidbit about The Hunter: You can find him at the bar in New Atlantis early in the game, just hanging out. It’s weird. Anyway, it’s time to decide: do you want to defend The Lodge, or do you want to go to The Eye to help out the injured members of Constellation there? Here’s what can happen depending on your choices.
- Defend The Lodge: If you stay and defend The Lodge from The Hunter’s assault, you’ll fight your way from The Lodge to your ship, defending everyone in the process and escaping in your ship. However, when you get to The Eye, you will find that one member of Constellation, with whom you had a good amount of affinity with, will have died from their wounds.
- Defend The Eye: If you go to check on The Eye, you’ll eventually head back down to The Lodge to find out that a different Starfield companion has died.
The tricky thing here is figuring out who is going to die and who is going to survive. What governs this appears to be which Starfield companion you have the most affinity with traveling the Galaxy and who you do the most personal missions for. For me, Sam Coe died when I went to help people on The Eye, and Sarah Morgan was the one who survived her seemingly life-threatening wounds. After replaying the segment, I saved The Lodge and found that Sarah was the one who died, and these were two of my most used party members throughout the game, even though I spaced it out a bit with Andeja from time to time. What makes this scenario even more interesting is how New Game Plus treats the situation, but we won’t spoil exactly how this goes down.
Defend The Lodge
Let’s talk about what happens if you defend The Lodge. Defending The Lodge involves immediate combat, so get ready for a fight. Before you do anything, go check on Walter Stroud upstairs, as The Hunter has him and will kill him if you skip out on this quick event. Run upstairs and shoot The Hunter until he disappears and check on Walter Stroud.

It quickly becomes apparent this isn’t a fight you can win, so head to the basement and escort Noel through the secret path out towards New Atlantis.

This doesn’t go smoothly as The Hunter will appear alongside several Starborn that will block your way. They are tougher than your normal human enemies, but I found that a high-powered shotgun can make short work of these foes.
Once you get through the sewers, you’ll pop back out into New Atlantis where all hell is breaking loose. The Hunter and the Starborn are everywhere, shooting at you and the Vanguard, and it’s a chaotic scene. Fight alongside them and make your way slowly to your ship. You’ll then head up to The Eye after to check on the members who were attacked and will find that either your 1st or 2nd most affinity-having Starfield companion will have succumbed to their injuries.
Defend The Eye
This was the path I took that I heavily regretted, but again, your mileage will vary depending on which characters you spend time with. As soon as you head out, a character you have a high affinity with will mention that if you leave, you won’t be able to get back in as they’ll barricade the door. This character will die if you leave, so say your goodbyes and head out.

When you get up to The Eye, you’ll see that The Hunter’s attack has wrecked everyone, but thankfully, nobody will be dead. The Starfield companion that was going to die had you defended The Lodge will be on the floor bleeding, but they’ll make it out okay because you made it there to help them.

After you’ve checked on everyone, you have to head back to The Lodge, and you’ll immediately see a member has been killed. For me, it was Sam Coe, and…yeah, that sucked, especially seeing his daughter Cora cry. Good job, Bethesda, you almost got a tear out of me for the first time ever. Get over it fast and head to the sewers to find Noel and progress as we did in the above section.
The Aftermath
Constellation will be reeling following the loss of a key member, but there is no time for tears as The Hunter still is at large and he wants the Artifacts we’ve been collecting. Vladamir tells us we have to move them somewhere and the way to do it is to store them in an Armillary on your ship or at an outpost.

Here is another choice in the quest. If you build the Armillary on your ship, you will encounter Starborn throughout your time-traveling space for the rest of the game. If you decide to build it at an outpost, first, you need to build an outpost. Then you can place your Armillary there, but you’ll need to be prepared as Starborn will attack your outpost on foot, making for some very tough battles depending on how well your defense is set up.
There is also a third option, and that’s to carry the Artifacts in your inventory. If you do this, you’ll be attacked everywhere, from ground to ship. I preferred this option as the Starborn are some of the most fun and challenging battles in the entire game, but you may want a less challenging time, so if that’s the case, building it at an outpost is your best bet.
Regardless of your choice, you need to head back to The Lodge and catch up with everyone. Talk to Matteo, who seems to have an idea about what this whole Starborn fiasco is about. He thinks that the Sanctum Universum might have the answers. To finish the quest, you should head over there to see if Matteo’s suspicions are correct.
FAQ
Question: Can you save all members of Constellation?
Answer: Outside of some console command wizardry, no, one member of Constellation has to die no matter what choices you make.
Question: What determines who lives or dies in High Price to Pay?
Answer: Your affinity is what determines who lives or dies. The more time you spend with a character, the bigger the chance that they will be one of the two Constellation members whose lives are in danger.
Question: Can you find The Hunter before High Price To Pay?
Answer: Yes, you can find him hanging out in New Atlantis’s bar, strangely enough, and he’ll let you know that you’ll be hearing from him at a later date.
Losing One of Your Own
This quest managed to hit extremely hard, making it one of the more heartbreaking quests Bethesda has ever written. The choices here seem innocuous, but you can tell that something bad is around the corner. You want to believe you can save everyone, but here, it’s just not possible. The events that follow this quest make the result a little bit easier to bear, but still, it’s a masterfully written one, and Starfield deserves plenty of praise for it. Hopefully, this Starfield guide gets you one step closer to solving the mysteries of the universe.
Continue reading: