
- Makes Space Suits Won’t Travel Guide - May 31, 2022
- Outer Worlds Damange Types Explained - May 20, 2022
- Dark Souls 3 Pickle Pee Guide - May 18, 2022
Outer Worlds is a roleplaying action game home to many quests, explorable worlds, and exciting companions. Top that with a plethora of items, guns, and collectibles, and you have yourself a recipe for a fantastic sandbox game. You can explore the world, get colorful commentary from your companions, and more as this game is seemingly alive and full of exciting events to get to.
With that said, aside from the main storyline, there are many side quests, some for companions but others not so much. These quests are a good source of experience, credits, or reputation; of course, they are placed throughout the game and follow the level progression of the zones. So while you might think it a good idea to take that quest later, it would do almost nothing for your level when you come back to it. Of course, these are primarily optional, so it is up to you if you want to complete these.
There are the Main Quests, Side Quests, Companion Quests, Faction Quests, and Tasks to go into more detail. Main Quests focus on progressing the main scenario of Outer Worlds; Side Quests advance the side plots and storylines not related to the main scenario: your companions or soon-to-be companions issue companion quests. Faction Quests are the same but issued by a particular Faction to earn reputation. Finally, a Task is similar to a Side Quest; however, it requires much less involvement and can be completed while doing other quests.
Make Space Suits Won’t Travel falls under the Tasks category. You can complete this quest after arriving at the Byzantium and can be accomplished while on the “Don’t Bite the Sun” Companion quest. This is the guide on how to finish this quest fast.
How to start the quest

You can do this Task while on the “Don’t Bite the Sun” Companion quest, so check if you want to complete that quest first.
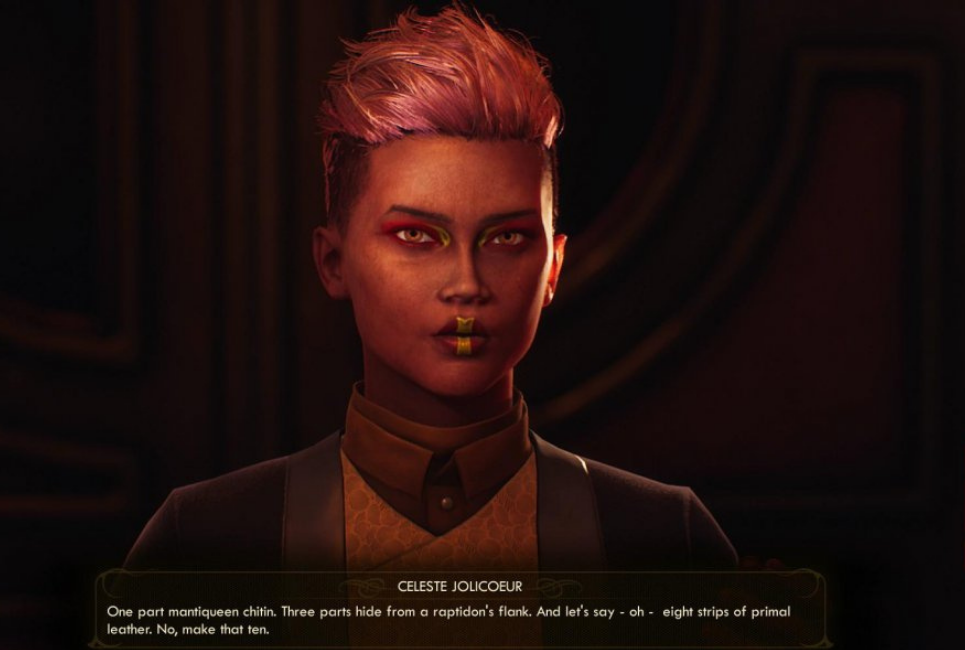
You have to talk to Celeste Jolicoeur to begin this Task; she resides in Byzantium on Terra 2. To find her, you must go to Prosperity Plaze. There you will find the Jolicoeur’s Haberdashery. She is inside the Haberdashery, ready to give you this Task. On the minimap, she is on the south side of the middle layer of Byzantium.
Aside from that, there are no other prerequisites to start this Task, so why not just get it done as soon as possible.
Rewards for Clearing it

Unique Armor: Chimaera
11000 XP
The Chimaera armor is unique light armor with the added mod of +10 to Dialog skills. It is a red two-piece suit paired with a snazzy-looking white tie. Its stats are as follows.
| Chimaera | Unique Light Armor |
| Physical Defense | 53 |
| Plasma Defense | 53 |
| Corrosion Defense | 53 |
| Shock Defense | 53 |
| N-Ray Defense | 53 |
| Weight | 1.00 |
| Skill Bonus | +10 Dialog Skills |
| Sell Value | 250 |
| Item level | 21 |
As you can see, the stats on Chimaera can compare to most heavy armors. Pair that with the fact that you get this at minimum level 21, and you have yourself a suit of light armor that looks good and acts as a set of heavy armor without any of its downsides.
You may not have a build-in mind that uses light armor, but even so, this thing can protect you from everything, literally every damage type. So why not give it a shot as a temporary armor while you are looking for that final heavy armor or as you go to light armor.
What needs to be accomplished
When you speak with Celeste Jolicoeur, you will get an update stating the task “Make Space Suits Won’t Travel” Accept this, and this is what you need to do to complete it. Minor spoilers ahead.

- Model Outfits for Celeste
- Collect 10 Primal Leather
- Collect Mantiqueen Chitin
- Collect 3 Raptudon Flank Hides
- Return to Celeste
- Get the Lapel from the HPS (Halcyon Packaging Service)
- Return to Celeste
- Search Celeste’s shop
Just as a heads up on the individual steps before I go deep into detail. Hypothetically you can complete many phases of this Task before even accepting them, so if you already have everything Celeste needs, all you need to do is speak with her repeatedly. Sometimes you may have to exit her Haberdashery and then re-enter it to start the next part of the Task.
Walkthrough
Here are the detailed instructions on how to complete this Task, so get ready to take some notes because it is filled with fetch quests and item gathering.
Step 1: Modeling

Once you have accepted the quest, you will be tasked to acquire “Iconoclast armor and headpiece, Marauder armor and headpiece, and Spacer armor and headpiece. If you already have these armors in your inventory, then equip the armor by sets and model them for Celeste. If you have modeled it, then proceed to step 2. If not, here is the list of possible items you can equip to fulfill the first criteria.
| Iconoclast Armor | Leaded Armor, Iconoclast Apostle Armor, Dur-A-Bull Guards. Anti-Riot Gear, Heavy Construction Gear |
| Iconoclast Headpiece | Full Cranial Helmet, Vented Mark 3 Helmet, Heavy Grade Face Mask, Iconoclast Apostle Helmet, Leather Helm with Goggles |
| Marauder Armor | Makeshift Low-Pressure Suit, Retrofitted Power Armor, Rebuilt Mining Gear, Marauder Survivalist Armor, Cobbled Exo-Suit |
| Marauder Headpiece | Patched Low-Pressure Helmet, Marauder Survivalist Helmet, Overhauled Power Helmet, Piecemeal Mining Helmet, Reconditioned Exo-Helmet, Streetwear (Fancy), Water Resistant Wear (casual), Work Gear (Farm-Friendly), Work Vest (Style 7) |
| Spacer Armor | Day Wear (Option 1), Day Wear (Option 2), Leather Gear (Business Casual), Mixed Use Outfit, Streetwear (Basic), Vac Helm |
| Spacer Headpiece | Enclosed Padded Helm, Mark 7 Cranial Protector, Opti-Goggles, Space Aviator Glasses, Sunlight Contractor Helm |
In reverse order, you can get the Spacer pieces on the Groundbreaker at Ike’s Armory for a fair price; aside from that, completing Spacer quests rewards you with pieces of armor. Finally, you can loot the armor off dead Spacers with a random drop chance. Be sure to check the item’s description as it would say “Spacer equipment” or describe the article as being used by the Spacers.
Go to Amber Heights or Emerald Vale and kill Marauders for Marauder gear. If not there, you can get the Marauder Survivalist set from Monarch. Head south of Terra One Publications building to find a Marauder camp. Within it lies the armor set; this is a guaranteed drop, so unlike the other armor pieces that drop by chance, you can make sure to have a complete set.
Lastly, You can acquire the Iconoclast armors at Amber Heights, Monarch, or go to Bronson’s shop to buy the armor pieces. Aside from that, if you explore the Monarch, you can find bits and pieces of them scattered around. Finally, you can complete the Iconoclast Faction quests for them. For a guaranteed set of the Iconoclast Apostle Helmet and Iconoclast Apostle Armor, you can complete the quests “The Commuter” and “Pay for the Printer.”
These items must be worn as a set; they must match. An easy way to identify a pair is if they have the same prefixes, such as “Marauder Survivalist” or “Iconoclast Apostle.” Aside from that, you cannot use anything that is “Spacer’s Choice.” as Celeste will refuse calling it rubbish.
With all of that in mind, let’s move on to step 2/
Step 2a. Fetching (Primal Leather)
Celeste then asks you to collect a few materials for her as inspiration suddenly strikes. You can do the following few parts in any order, so with that being said, she asks you to collect ten pieces of Primal Leather.
Primal leather is considered a Junk item. Usually, these are sold in exchange for some bit cartridges. You can buy these from Stefan Garcia; he is found in the Botanical Lab in Emerald Vale. This is on the northern side of the Emerald Vale, north of the Geothermal Power Plant. You can also hunt Primals for a chance of this item dropping.
Alternatively, you can hunt for them southwest of the Geothermal Plant in Emerald Vale or on Scylla near the Abandonded Mining Outpost. While the location in the Emerald Vale is closer, the spot on Scylla has more Primals, so they are easier to encounter and have more chances to drop the leather, so you choose which one you’d prefer to go to.
Once you have collected ten pieces, you can collect the other materials.
Step 2b. Fetching (Raptidon Flank Hide)
Here you will need 3 Raptidon Flank Hides. Like the Primal Leather, these are considered Junk Items, meaning that there is a chance for them to drop while fighting the correct opponent. However, reports have said that the Flank Hide does not drop until you have accepted the “Makes Space Suits, Won’t Travel” Task. Currently, I cannot confirm this due to my abysmal RNG when it comes to drop rates.
So hypothetically, if they drop every time, you can grab these off Raptidon Corpses. These creatures are found in Monarch. Specifically, head northwest towards the Sulphur Pits between Stellar Bay and Cascadia. Alternatively, you can go to the Raptidon Pens in Roseway Gardens, but doing so leads you to several side quests that you would want to complete and goes out of the way since the following item to fetch is also found, Monarch.
You can also purchase the Raptidon Flank Hide from Sebastian Adams; he resides in Stellar Bay, also found on Monarch. With these in tow, all you need is one more item.
Step 2c. Fetching (Mantiqueen Chitin)

You can also purchase this item from Sebastian Adams on Monarch. So it takes care of two birds with one stone if you head to Monarch to collect these items. If you are looking to save a few bits, you can farm for the chitin instead, and I believe it is a guaranteed drop of a Mantiqueen.
You can find a Mantiqueen North of Fallbrook, in the Monarch Wilderness, Southeast of Monarch proper. One can be found at Rizzo Secret Laboratory, underground below Cascadia in Monarch. Finally, you can spawn one by taking the side quest “Mr. Pickett’s Biggest Game” in Fallbrook.
With all of these items gathered, you return to Celeste, and she will begin production on the outstanding suit.
Step 3. Packaging Delays
Once you have returned to Celeste in Byzantium, she will take the materials and declare its name to the player: The Chimaera, while working on the new outfit. She follows that up by saying that she needs a Gold Lapel, and hers is being held at the HPS or Halcyon Postal Service due to lacking a signature. So she asks you to pick it up for her handing you the “Writ of Consent” key item.
So mosey on over to the HPS office, a quick walk down the stairs, and speak with the workers there. Upon doing so, you find out that the parcel is being delivered to an estate (of course, you must be forced to switch windows before you learn this.). When you get to the estate, you find out that the delivery was unsuccessful and someone returned the parcel to the HPS; a note will be posted on the door, so be sure to take the note back with you.
Returning to the HPS has you being told to move windows again before being able to give the signature to receive the parcel. Once in your possession, you can return it to Ms. Jolicoeur.
An alternate to going through this entire talking and walking process is to lockpick the backroom of the HPS building and take the parcel while no one is looking. It is located on the shelves.
Step 4. Triumph at last…

Return to Celeste, only to find out that she is dead!?
In the middle of her store, she lies slain as members of the Byzantium Police Force surround her. A Corporate Commander walks up to the player and instructs them to stand back. If you press the Commander, you find out that the Chimaera’s appearance is not legal in Byzantium.
In creating the Chimaera, she has essentially been caught red-handed. When they attempted to arrest her peacefully, she did not want to cooperate. The guards did not want to negotiate, so they shot her dead. You then gain the option to accuse them of murder and fight the guards, which would drop your reputation with Byzantium, or you can call them insane. They say the Universal Defense Force’s Motto and walk away in response to this.
Step 5. The True Final Step.

With the guards gone, you have to loot her body to take her key. Alternatively, you can lockpick her office to enter the room. Take the Chimaera, and in this action, you finish the questline.
Returning to the store later on will show that her body is gone and that she has been replaced with Malini Gupta.
FAQ
Question: Is there any way to save Celeste?
Answer: No, she was killed by the guards before you arrived.
Question: Why is it (the Task) called Have Space Suit Will Travel?
Answer: this is a reference to “Have Gun– Will Travel,” an old American Western series made by CBS.
Question: Where can I find Marauder Armor?
Answer: Go to Monarch; you can fight Marauders at Amber Heights and other locations all over Monarch.
Conclusion
This quest may seem long but, in actuality, can be done in roughly an hour less, even if you have the materials needed beforehand. After all, it is a task, so it is meant to be done quickly and easily. There is not much more to add, but I never really felt good about the death of Celeste. What do you think about it?
Looking for more interesting readings? Check out: